Description
AUTOOL C703 Electric Car Charger Working Principle
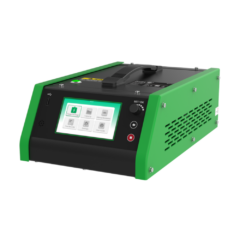
The AUTOOL portable EV charger provides charging for electric vehicles by connecting to a standard power source. Its operating principles include vehicle identification and intelligent communication, dynamic current adjustment, real-time monitoring, and multiple safety protections to ensure secure charging. The charger automatically stops once charging is complete, preventing overcharging. Its portable design makes it suitable for various usage scenarios, while the IP protection rating ensures stable performance under all weather conditions.
AUTOOL C703 EV Charger Install Features
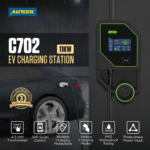
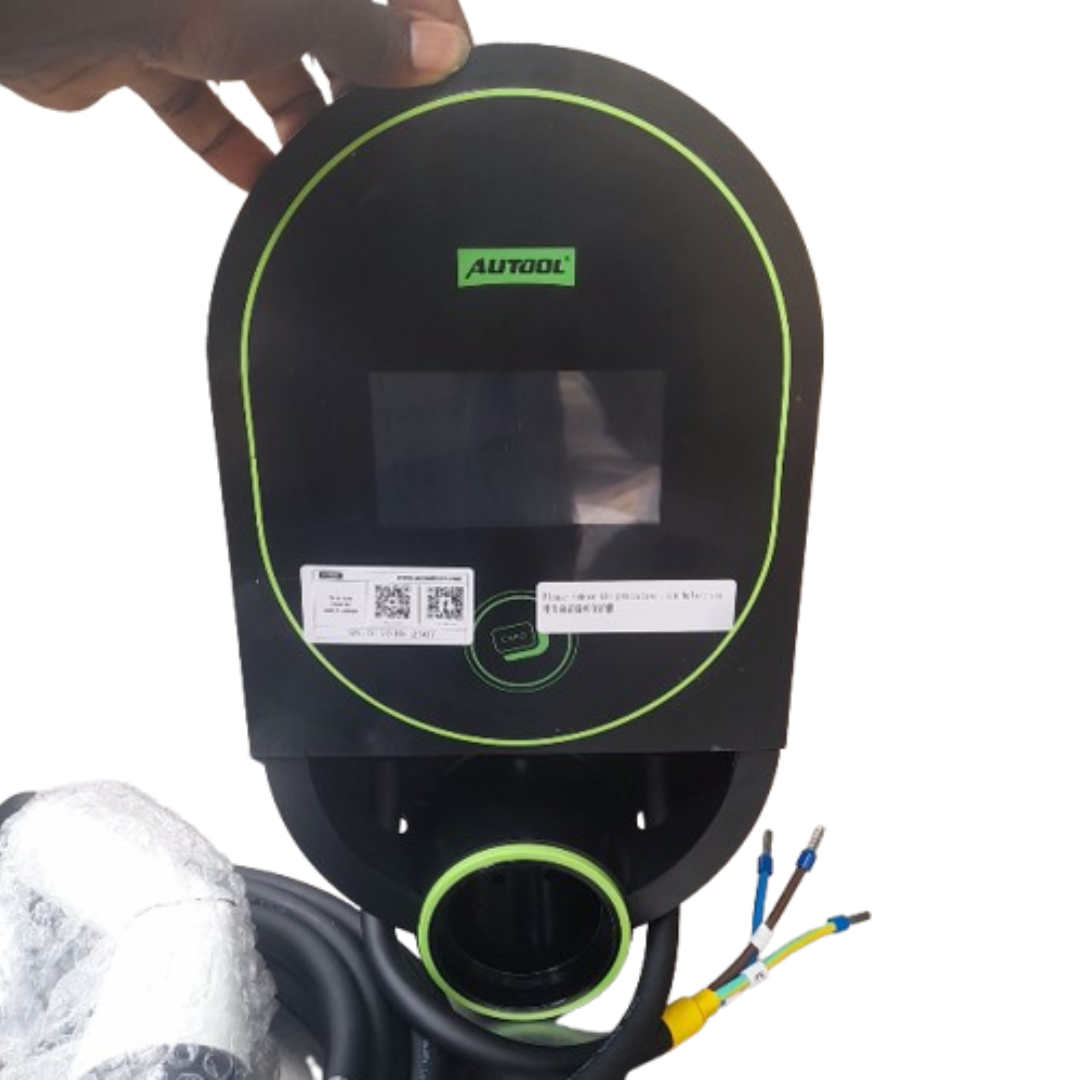
Electric Vehicle Charger: The AUTOOL C703 EV home charger comes with a 7KW portable EV charger and an 8-meter-long cable, supporting a maximum voltage of 220V. It is suitable for charging most electric vehicles and plug-in hybrid vehicles.
APP Smart Control: Supports remote Bluetooth connection via a mobile app, allowing real-time monitoring and adjustment of the charger’s operating status.
Multifunctional Display Screen: This product is equipped with a display screen, allowing you to adjust different current levels (8A/10A/13A/16A) directly on the screen.
Charging Protection: This product features multiple circuit protection functions, including leakage protection, short circuit protection, overheating protection, and overvoltage protection. It automatically disconnects power once fully charged.
IP66 Waterproof: The cable is rated IP66 for waterproofing and can operate within a temperature range of -20°C to 50°C.
AUTOOL C702 Electric Car Charger Working Principle
Connect the machine to the power supply.
Press the power button to turn it on.
Select the charging mode.
Set the charging time.
Once charging is complete, remove the charging nozzle.
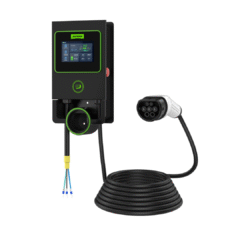
This product primarily consists of a charging station main unit, a charging gun, cables, and installation back brackets. It is an electric vehicle charging device that, when connected to the mains power supply, charges electric vehicles through the charging station and the charging gun’s head.
Technical specifications
| Installation Method | Wall-mounted |
| Wiring Method | Bottom entry, Bottom exit |
| Cable Length | 8m |
| Input Voltage | AC 220V ±20% |
| Input Frequency | 50HZ |
| Rated Power | 7kW |
| Output Voltage | AC 220V ±20% |
| Measurement Accuracy | Level 2 |
| Standby Power Consumption | Less than 2W |
| Output Current | 32A |
| Operating Temperature | -20°C~+50°C |
| Applicable Environment | Indoor / Outdoor |
| Operating Humidity | 5%~95% non-condensing |
| Protection Level | IP65 (control box), IP54 (charging connector coupling status) |
| Operating Altitude | Less than 2000m |
| Cooling Method | Natural cooling |
| User Interface | Display screen |
Product safety features
- Leakage Protection
According to the product installation requirements, install a leakage circuit breaker at the front end of the incoming line. - Overcurrent Protection
If the current exceeds 35A, the charging station will shut off power and automatically resume after a 1-minute delay. - Overvoltage Protection
When the voltage exceeds 275V, the protection system activates and will automatically restore power once the voltage stabilizes. - Under voltage Protection
If the voltage falls below 88V, the protection system initiates and will automatically restore power when the voltage stabilizes. - Temperature Protection (Overtemperature Protection, Low-temperature Protection)
If the temperature exceeds 83°C, the protection system activates, and power is automatically restored when the temperature drops to 80°C. - Grounding Requirement
The system requires a proper ground connection for safe charging. - Emergency Stop Protection
Pressing the emergency stop switch will disconnect power output from the charging station. Normal operation is restored when the emergency stop switch is reset.
PRODUCT STRUCTURE
Structure diagram
| A | Display Screen |
| B | Card Swipe Area |
| C | Input Cable |
| D | Charging Gun Head |
| E | Emergency Stop Switch |
| F | Charging Gun Cable |
USAGE INSTRUCTIONS
Startup interface
- Connect the charging station to the electrical grid using the correct wiring method and supply power to the charging station.
- The display will appear as shown in the following image:

Charging interface
- Use an IC card to access the charging interface (the default factory setting is card swipe mode to unlock the screen, and the screen will automatically turn off after 1 minutes of inactivity).

- Enter the password (the initial password is 123456) to access the charging interface.

Charging methods
Standard Charging
- Insert the charging gun and tap the screen on “Start/Stop” to begin or terminate charging.

Scheduled Charging
- Plug in the charging connector, tap “Schedule Charging” on the screen, set the future start and end times for charging, and click “Confirm.” Then exit to return to the main screen. The screen will display “Scheduled Charging.” Charging will start automatically at the scheduled time without needing to click “Start/Stop.” To cancel scheduled charging, tap “Scheduled Charging” on the screen and click “Cancel” on the settings page.

Plug and Charge
- On the main interface, tap “System Settings” to access the system settings screen. Tap “Startup Mode”, and in the selection interface, double-tap “Plug and Play”. In this mode, plugging in the gun will immediately initiate charging without further screen interaction.
 Unlocking methods
Password Unlock
- Access the system settings, tap “Startup Mode”, and in the selection interface, double-tap “Input Password” Set a new password and tap “Confirm” to save and exit. On the standby screen, tap the screen to enter the password and access the main interface.

Card Swipe Unlock
- Access the system settings, click “Startup Mode”, and in the selection interface, double-tap “Swipe Card”. On the standby screen, use an IC card to access the main interface.
 Setting the current
- Prior to initiating the charging process, go to the “System Settings” interface, select “Current Setting”, and opt for the suitable current as required. Double-tap on the chosen current level, and the system will automatically save the current setting. Once the selection is made, return to the main interface (it’s not possible to adjust the current setting during the charging process; the current setting persists even in the event of a power loss).